What Happens to All That Dirt? Following Excavated Soil From Your Site to Its Final Destination
Excavation projects move tons of soil, literally. But once that soil leaves the ground, where does it actually go? The answer is not always simple, and it affects your timeline, your budget, and even the environment. Let’s look more closely at what happens to excavated soil and other materials.
Assessing the Material
The moment we start digging, we’re evaluating what’s coming out of the ground. Clay, soil and rock have vastly different properties, and need to repurposed or disposed of in different ways.
We know Southern Vancouver Island well and typically have a good idea of what is in the ground before we get started. This is a combination of experience, and sometimes exploratory test holes. As material is removed, we’re looking at color, texture, moisture content, and any unusual characteristics. Does it smell like petroleum? Is there debris mixed in that shouldn’t be there?
This initial assessment determines everything that happens next. It dictates where the material can go and how much it will cost to move it.
Related Post: Important Questions To Ask Your Excavation Contractor.
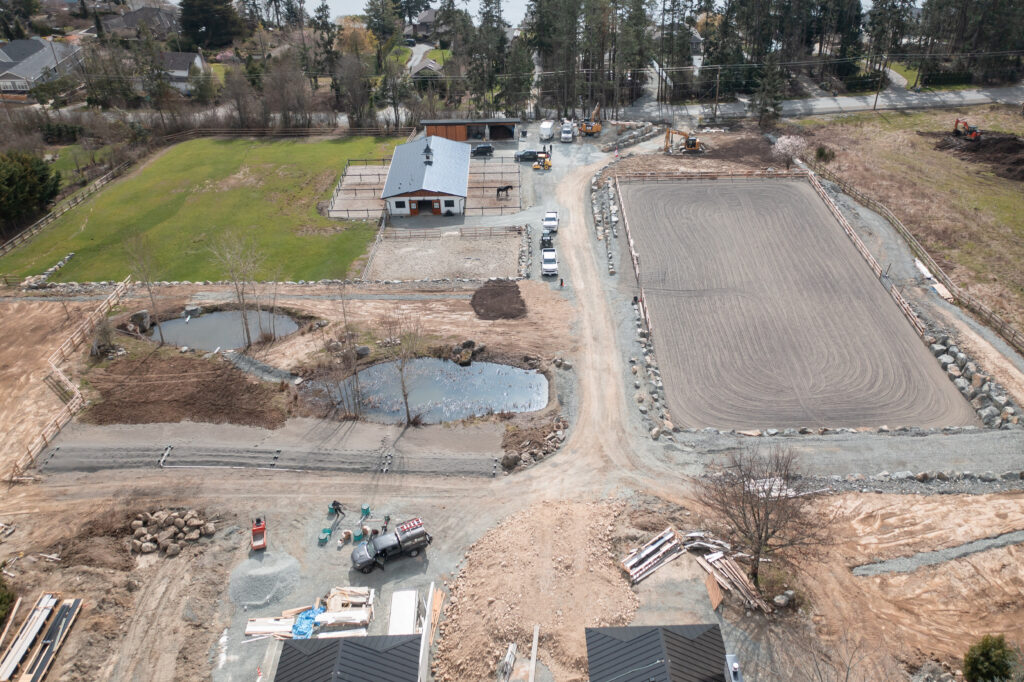
Path A: Staying On-Site
When practical, we keep excavated material on-site. It’s the most economical option. Reduced trucking costs, fewer dump fees, and fewer truck trips eating into your timeline and budget. It’s also better for the environment.
So where does this material go when it stays put?
The most common use is backfilling non-structural areas of the excavation. Gravel or other stone materials must be used directly adjacent to structures and beneath driveways where structural support matters. Excavated soil however, can work well for filling in and leveling areas away from structures.
On rural or commercial properties, we sometimes use excavated material to level out other areas or fill low spots. Sometimes we’ll stockpile material temporarily during construction phases, then redistribute it later when the timing makes sense.
The challenge on tight residential lots is there often just isn’t space to store material without it getting in the way. It’s a bit like Tetris, except the pieces weigh several tons and you can’t rotate them.
Keeping material on-site isn’t always an option. Sometimes there’s simply too much material for the property to absorb. Sometimes the quality isn’t suitable for reuse. Project timelines might not allow for on-site storage. Site access limitations can make it impractical. When that happens, the material has to go somewhere else.
Path B: Haul to a Fill Dump Site
Clean fill gets hauled to designated dump sites around the South Island. These are permitted facilities that accept non-contaminated material and manage it for future use.
This is where costs start adding up. Dump sites typically charge per box. Then you’ve got transportation costs: fuel, driver time, time spend loading etc. Depending on how far the nearest approved site is from your property, hauling can significantly increase your disposal costs compared to keeping material on-site.
Related Post: Four Ways To Deal With Rock On A Jobsite
Path C: Rock Takes a Different Route
Rock is the exception. When we hit rock during excavation, it doesn’t go to a standard fill site. Instead, it gets hauled to a quarry where it’s crushed and sold as various aggregate products.
This is a completely separate process from standard fill disposal, with its own logistics and costs.
Path D: When Fill Is Contaminated
Soil becomes contaminated in ways most people don’t expect. Historical fuel spills from old underground storage tanks. Creosote leaching from old railway ties. Industrial runoff and legacy contamination from past land use can all result in unusable material that must be dealt with by a specialized facility.
Visual indicators like unusual odors, discoloration can raise red flags during excavation. When we encounter these signs on properties with certain historical uses—former gas stations, old industrial sites, areas near railways—we know testing may be required.
Here’s where projects get expensive. Contaminated fill cannot go to standard fill sites. It requires transportation to designated facilities equipped to handle it. The disposal costs are significantly higher. This can dramatically impact both your project budget and timeline.
Related Post: The Excavation Process – A Step By Step Guide
What This Means for Your Project
Understanding where your excavated material will end up should be part of the conversation during estimation, not a surprise when the work begins. Ask your contractor how they plan to manage fill. Ask where material will go if it can’t stay on-site. If your property has any history that might involve contamination, ask what the process looks like if testing becomes necessary.
Budget accordingly. Even on straightforward sites, understand how material volume calculations affect your total cost. A few extra yards of material can mean an extra truck, an extra dump fee, an extra hour of loading time. It adds up.
The journey of excavated soil is more complex than most people realize. Every load of dirt has a destination, and that destination affects your project’s success. Next time you see an excavator removing material from a site, you’ll know exactly where it’s headed and why it matters.
Are you considering a commercial or residential excavation project? We have built our reputation on quality work, and quality customer service. Give us a call to talk about your next project.
